A few weeks ago, I stumbled across a bargain lot of Android phones in various conditions. Among them was the Sony Xperia 10 Mark II, which had a cracked screen. While the phone was still usable, the crack certainly impacted its resale value. Having only repaired one Sony phone in the past, I was curious to see how this model would fare in terms of repairability. So, let’s dive in and see how easy it was to bring this phone back to life!
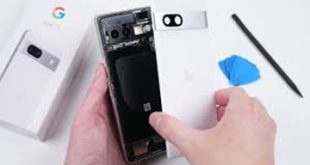
Step 1: Preparing the Phone for Repair
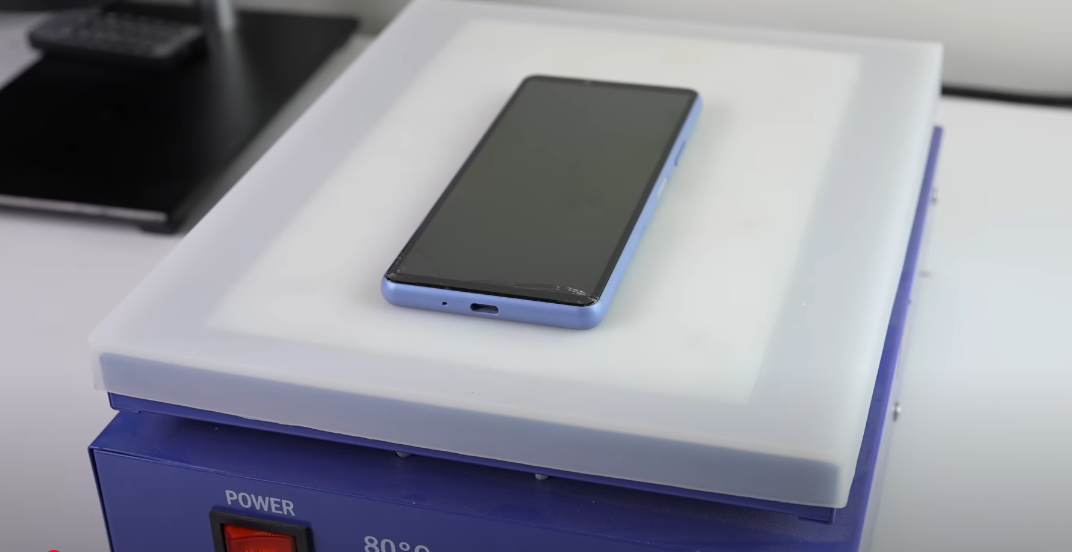
First things first, it’s off to the heat plate for a few minutes. This will help soften the strong adhesive used to secure the back glass panel, which will make it easier to separate. If you’re used to working on Google or Apple devices, you’ll know how tough the adhesive can be, so I was pleasantly surprised by how easily the Sony Xperia 10 Mark II’s back glass came off.
Step 2: Opening the Phone and Internal Layout
After removing the back panel, I was greeted by the familiar sight of plastic brackets holding everything in place—just like most Android phones. These brackets not only secure the internal components but also act as antennas for wireless connectivity. The lower part of the phone houses the loudspeaker, all of which is held together by Philips screws. What’s worth noting here is that there are two different screw sizes: the black screws are longer, and the silver screws are shorter and used around the camera area.
Unlike many other Android phones, the upper plastic bracket is divided into three pieces that clip into place on one side. This design was both modular and simple to work with, making the disassembly process quite efficient.
Step 3: Disconnecting the Battery
Once we had everything unscrewed and the brackets removed, the next step was to disconnect the 4,500mAh battery. The battery was secured with stretch-release adhesive, which is a little unpredictable. With my experience, I knew that simply pulling it at a 90-degree angle wouldn’t work. Despite the plastic frame being in the way, I attempted to remove the adhesive tab in the usual way, but it didn’t come out as planned.
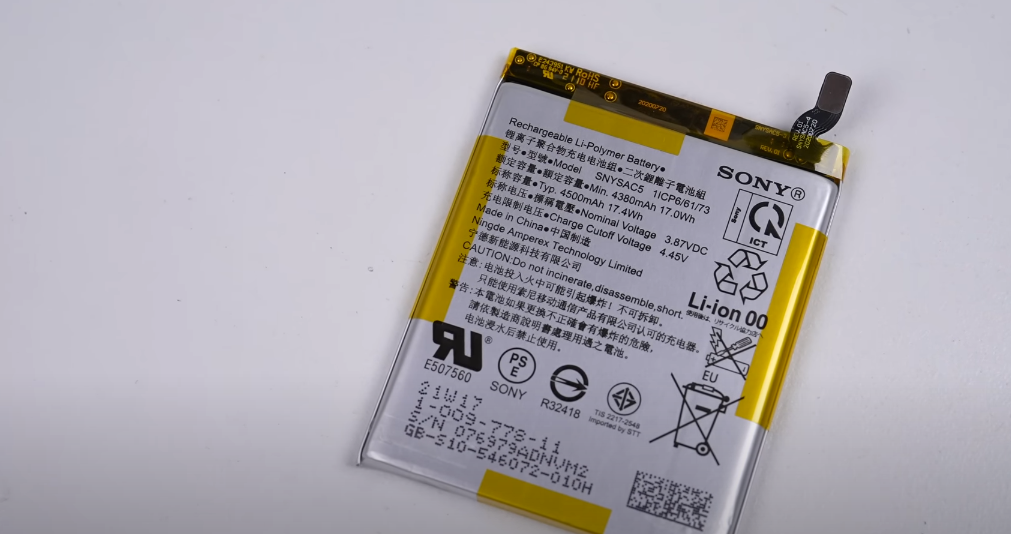
After some trial and error, I resorted to using a little alcohol to loosen the adhesive—both for the phone’s sake and my own. After removing the battery, I took a closer look at the adhesive tabs and realized that one tab was blocked by plastic, while the other had a clear path for removal. Once the obstruction was cleared, the previously unremovable tab came off without issue.
Step 4: Removing Components
Next, I focused on the motherboard. The board itself was held down with just a few flex cables, so lifting it out was quick and easy. The phone is powered by the Snapdragon 690 processor, with 128GB of storage and 6GB of RAM. Despite its relatively modest size, it supports 5G connectivity, dual SIM cards, and even an SD card slot.
With the board removed, I proceeded to take out the front-facing camera, followed by the headphone jack. It’s worth mentioning that Sony is one of the few phone manufacturers that still includes a headphone jack on their high-end models, which is a feature that many users still appreciate.
Step 5: Installing the New Display
The next part of the repair involved swapping out the cracked display. This was a simple process since I had already purchased a new OLED display that cost me just $123 AUD (about $78 USD)—a reasonable price compared to some of the more expensive models out there. The new display even came with a frame and interconnect cable, which made the whole process a lot smoother.
After carefully transferring the components from the old display to the new one, starting with the antenna cables and then securing the battery back into place, I tested the new screen. Thankfully, everything worked perfectly—the touch functionality was responsive, and there was no sign of burn-in, a common issue when buying used screens.
Step 6: Reassembling the Phone
Once the display was tested, I went ahead and glued the battery back into position, using adhesive similar to the one that came with the phone originally. I also made sure the antenna plastic pieces were reattached, remembering that the two shorter screws needed to go near the camera module.
After that, I carefully applied new adhesive to the back glass panel, ensuring I didn’t get any glue on the cameras. This time, I opted for liquid adhesive, which would provide a strong bond and keep the back panel secure. Although it’s messier than traditional adhesive strips, it’s a more reliable solution in the long run.
Step 7: Final Touches and Test
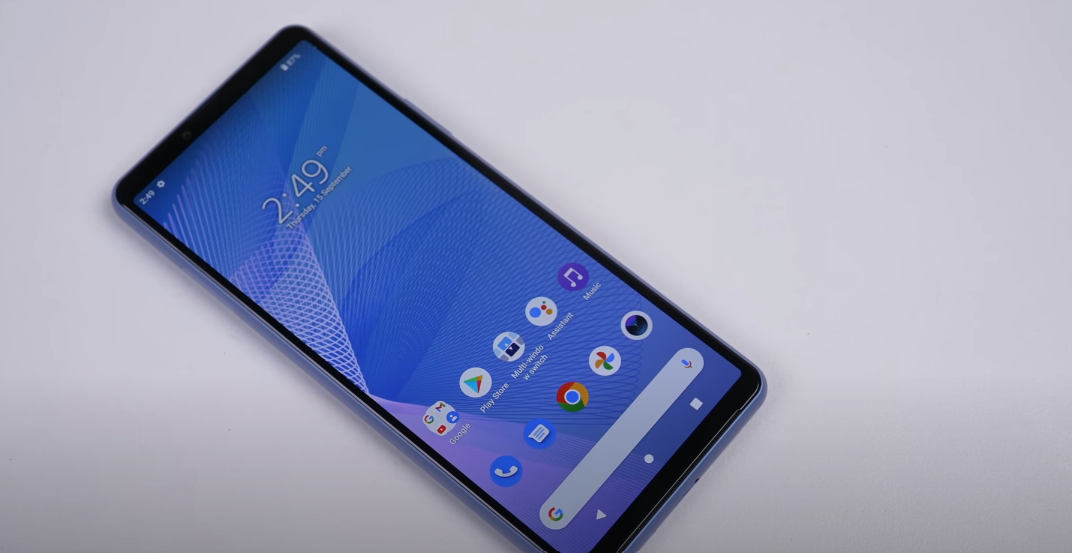
Once the glue had cured, I reassembled the phone, removed the protective plastic film from the new screen, and powered it up. The Xperia 10 Mark II was fully functional again, with no issues with the power button, fingerprint reader, or display.
A Few Thoughts on Sony Phones
As I wrapped up the repair, I couldn’t help but wonder why Sony’s smartphones aren’t more popular. Despite being a major player in the camera industry—making the cameras for Apple’s iPhones—Sony phones have never quite taken off. They offer features like headphone jacks, microSD card slots, and even 4K displays, all of which are rare in modern phones. Yet, their presence in the market is barely felt, and they haven’t been sold in Australia since 2018. It’s a shame, because from a repairability standpoint, the Sony Xperia 10 Mark II is a dream to work on.
Conclusion
All in all, the Sony Xperia 10 Mark II proved to be one of the easiest Android phones to repair. With its modular design, easy-to-remove screws, and relatively accessible internals, I was able to replace the cracked screen quickly and efficiently.
This phone is an excellent example of good design for repairability, with no paired components that could render the phone useless after a repair. Its accessible components make it a great candidate for DIY repairs, and the overall experience was far less frustrating than working on other smartphones.
If you’re considering picking up a Sony phone or just curious about how easy it is to repair, the Xperia 10 Mark II is definitely one to look at. And if you’re into phone repairs or restorations, be sure to check out my other videos in the phone restoration playlist for more tips and tricks.